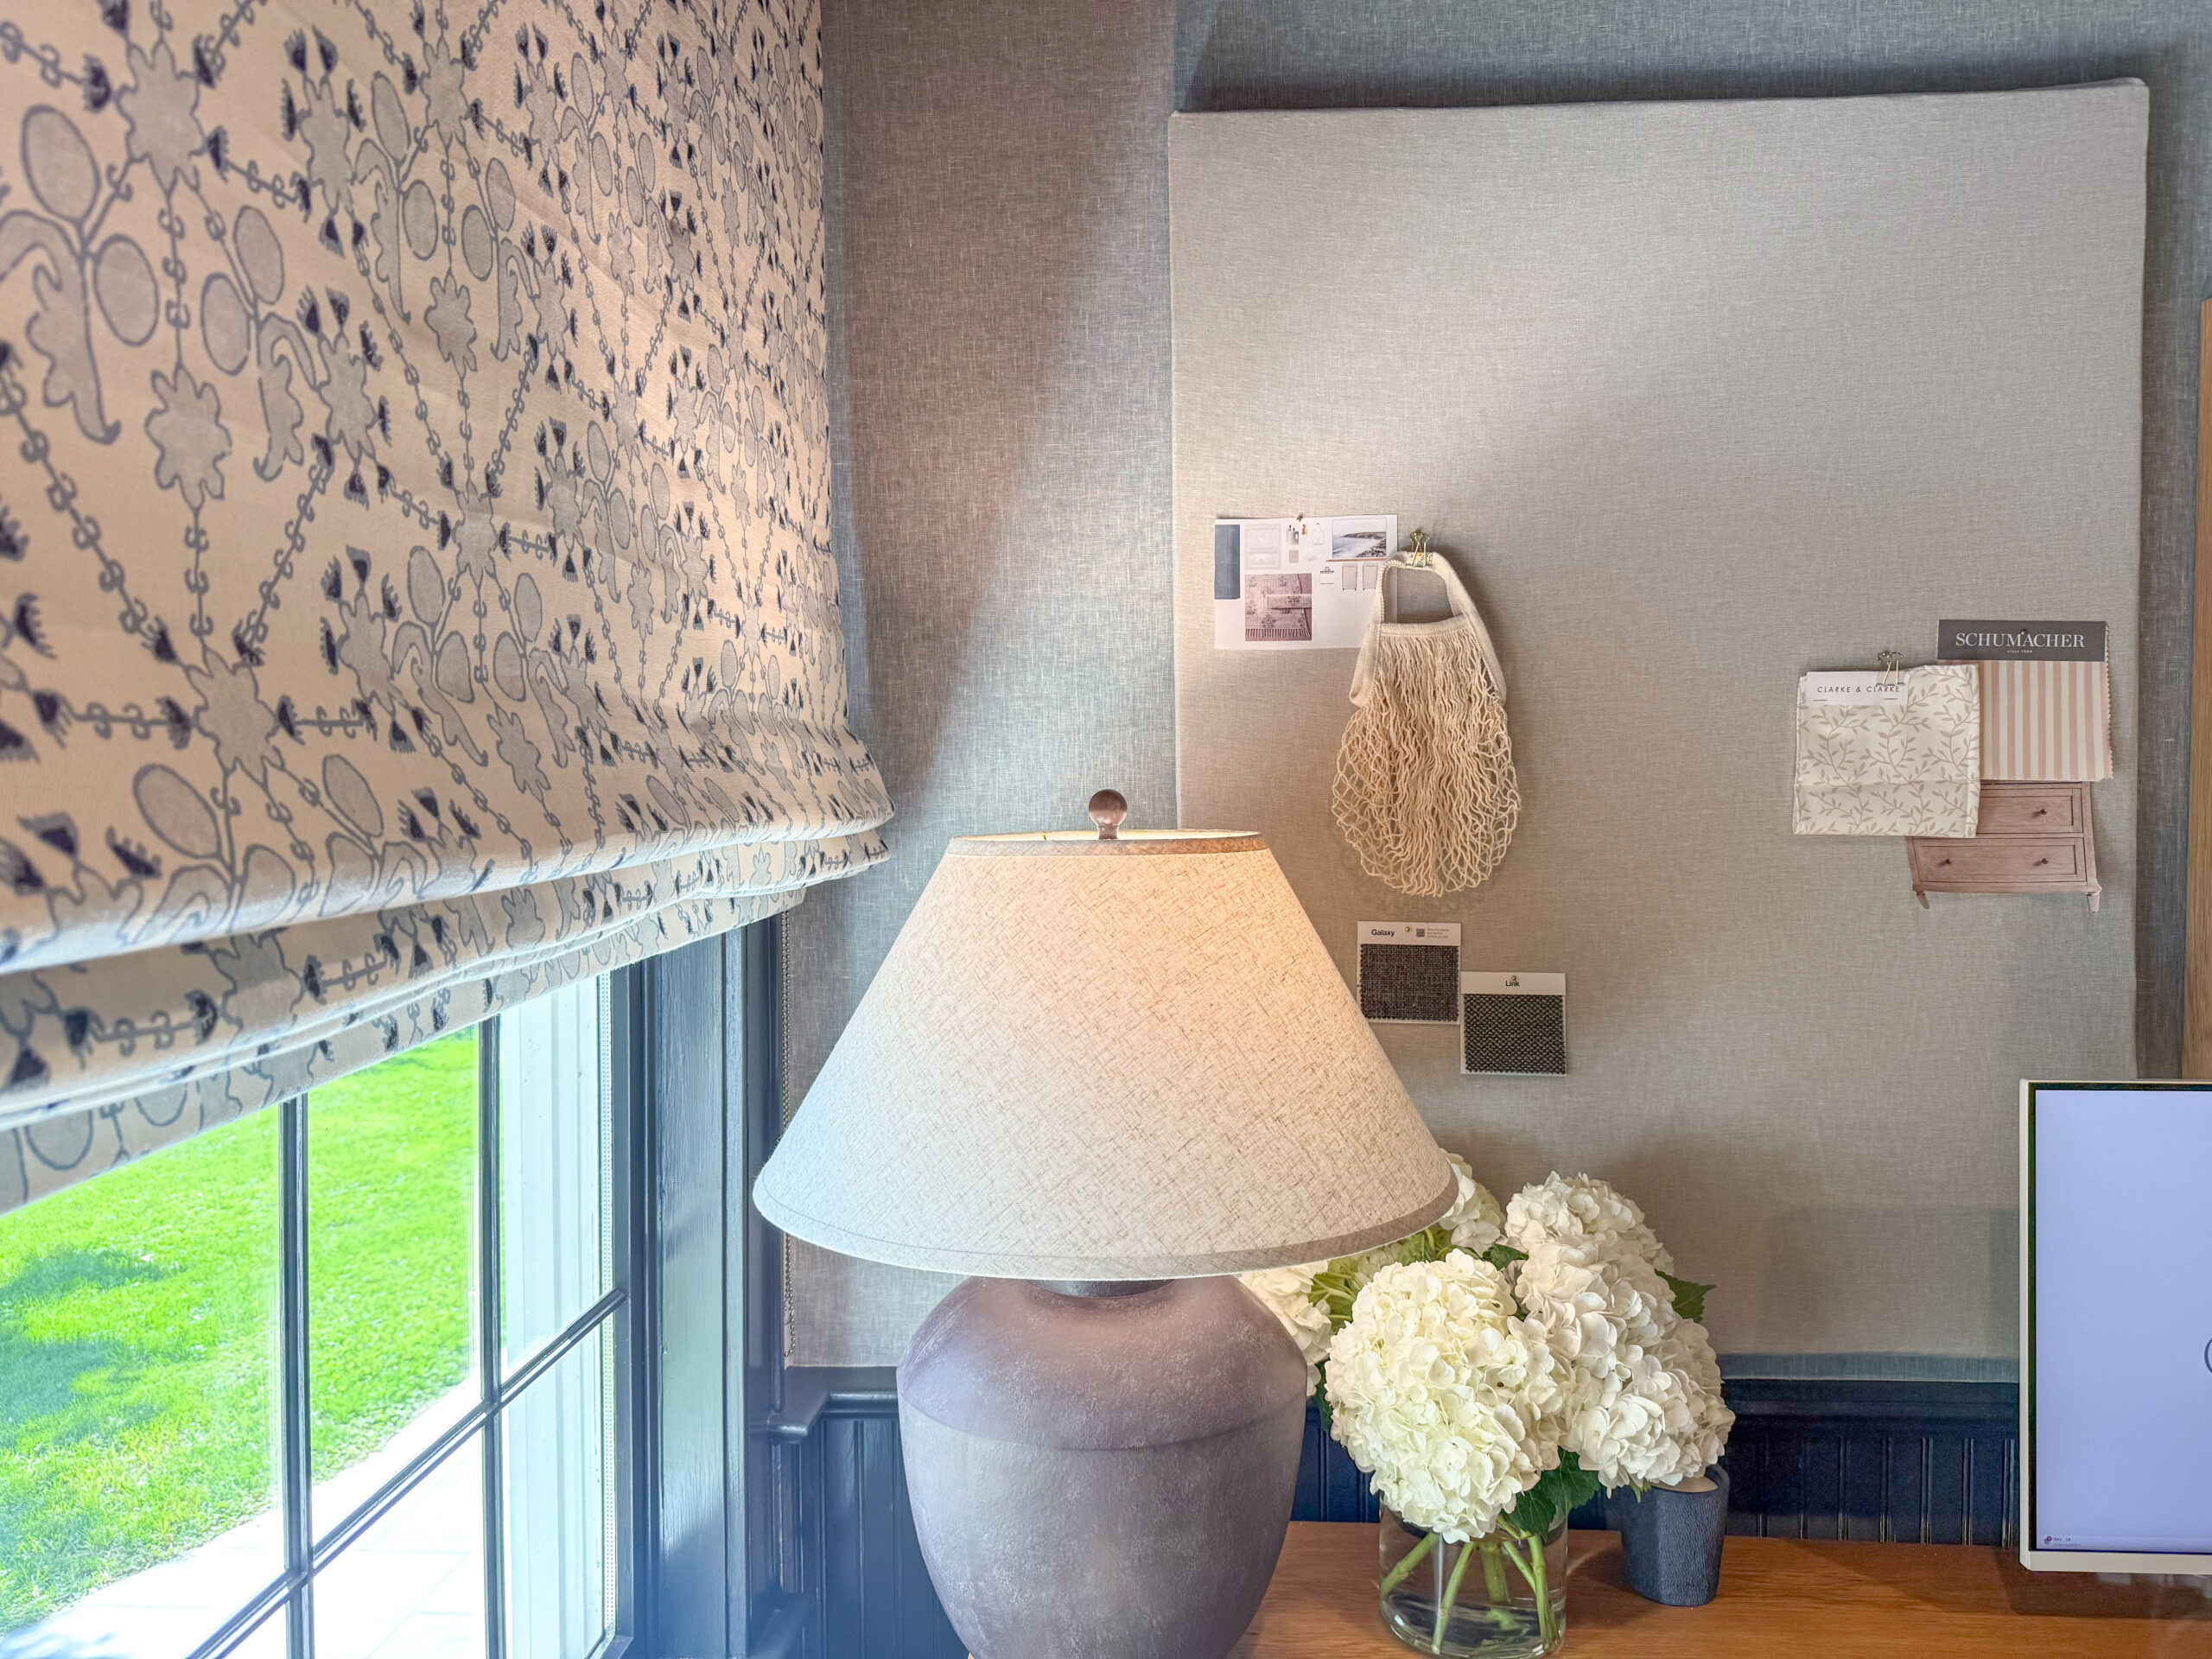
DIY Pinboard: How I Made Mine (and What I’d Do Differently)
Let me start by saying—with the craziness of work and 3 kids, I am not an avid DIYer these days. But I had a vision for my home office and couldn’t bring myself to spend $400+ on a custom oversized pinboard. So I decided to make my own, and I’m pretty happy with how it turned out.
Here’s how I made it, what I used, and what I’d change if I were to do it again!
What I Used
- Foam insulation (4×8 R-6 ISO R Matte Plus 3 from Home Depot)
- 4mm cork sheet
- DeWalt staple gun
- DeWalt utility knife
- Gorilla Glue spray adhesive
- Thin piece of trim plywood
- Sawtooth picture hangers (two)
- Linen fabric in “Flax” from Hobby Lobby
How I Made It
- Cut the foam insulation
I wanted my board to be 48″ high by 36″ wide. I measured and drew out the lines on the foam board, then used a utility knife to size down the foam. It was easy to cut, but the edges were slightly rigid due to the material. Of course, I wanted a perfectly flat, sharp line. - Add the cork layer
I cut the cork sheet to the same size and glued it onto the foam using Gorilla Glue spray adhesive. The cork gives the surface memory so that when you remove a pin, the hole closes back up (something foam insulation alone doesn’t do). - Wrap it in fabric
I chose a flax-colored linen from Hobby Lobby for a clean, elevated look. I pulled it tight and stapled it to the back using my DeWalt staple gun. - Add support for hanging
Because foam alone isn’t sturdy enough to hang, I nailed a thin piece of trim plywood to the back. This gave me a solid base to attach the sawtooth picture hangers. I used two picture hangers on the back outer edges to make sure it was sturdy. - Hang
I nailed in the sawtooth hangers (make sure your nails are deep enough but not too deep to punch through the front). Then I used two picture hanger nails in the wall and hung the pinboard. I can’t wait to share the rest of my office updates next week!
What I’d Do Differently
- Plywood frame: While insulation foam is lightweight and easy to cut, it doesn’t give perfectly clean edges. I would make a full thin wood frame around the foam board or use a thin piece of plywood to start with in place of the insulation. Then, when you wrap your fabric, it goes over the straight wood edge.
- Use thicker cork: I used 4mm cork, but I’d likely go with 6mm next time for durability, especially if plywood is thinner then the foam board. The thickness of the foam board is perfect.
- Try a different adhesive: I wasn’t thrilled with how the spray adhesive bonded the cork to the foam. If you start with a thin piece of plywood, you could use wood glue to attach the cork which may work better.
Things to Note
- Foam insulation alone loses tack once a hole is made—thanks to my sister-in-law for warning me on this! The cork layer is key to creating a surface you can repin again and again.
- Fabric choice matters! A light linen or even a subtle pattern gives an elevated look and also helps hide tiny imperfections underneath.
- Iron your fabric before it goes on the board so the cork doesn’t lift from the hot iron after it’s glued.
If you want a large pinboard without spending hundreds, this DIY is budget-friendly, customizable, and definitely doable!


